
Hydraulic Breaker Pin: Identification, Wear and Ordering
Identify hydraulic breaker mounting and tool-retaining pins, record wear and dimensions, and prepare a model-matched replacement inquiry.
All buyer guides
“Hydraulic breaker pin” can mean more than one part. Buyers may be asking for a tool-retaining pin inside the breaker front head, a mounting pin that connects the breaker bracket to the excavator, or another model-specific locating pin. These parts have different jobs and are not interchangeable, so the first step is to identify where the pin is installed.
This guide explains how to separate the common pin categories, document wear and prepare a model-matched inquiry. It does not provide universal pin dimensions, hardness, clearances or reuse limits. Use the drawing and service criteria for the exact breaker, bracket and carrier combination.
Safety boundary: A breaker, bracket or working tool can move or fall when a pin is removed. Lower the attachment onto approved support, isolate stored hydraulic and gas pressure, prevent movement and use the specified lifting and removal equipment. Never drive out a loaded pin or work beneath a suspended attachment.
Which Hydraulic Breaker Pin Do You Need?
A mounting pin passes through the excavator linkage and breaker bracket. A tool-retaining pin—also called a retainer, lock pin or tool pin in some documents—holds the working tool in the front head while allowing the movement intended by the design. Other small pins can locate or secure internal parts. The name alone is therefore not a reliable order specification.
Locate the part on the exact drawing and describe its installed position. A photograph of the complete assembly with the pin location marked is more useful than a close-up of an unidentified cylinder. The hydraulic breaker parts diagram helps distinguish the power cell, housing, bracket and tool-retention area.
Mounting Pins and Tool-Retaining Pins Are Different
| Pin category | Typical location | Key matching evidence |
|---|---|---|
| Mounting or bracket pin | Excavator arm, link and breaker bracket interface. | Carrier/linkage identity, bracket drawing, pin diameter, working length, end retention and boss spacing. |
| Tool-retaining pin | Front head across the working-tool retention area. | Exact breaker model, tool diameter, retainer profile, length, groove/end detail and quantity. |
| Locating or internal pin | Model-specific power-cell or housing position. | Drawing item, assembly location, part number and revision. |
Do not convert one category into another from approximate dimensions. A mounting pin is part of the carrier attachment geometry; a tool retainer interacts with the working tool and front head under repeated impact. Each requires its own drawing and inspection criteria.
Identify a Mounting Pin Correctly
Begin with the excavator make, model and linkage arrangement, then record the breaker bracket identification. The bracket may be direct-mounted, quick-coupler compatible or built to a customer interface. Carrier tonnage is not enough because machines in the same class can use different linkage dimensions.
Use a labeled sketch to record pin diameter, usable working length, overall length, end shape, grease passage, retaining method and the widths and spacing of the mating bosses. State whether values came from the original drawing, an unworn pin, a used pin or the actual machine. Measure the mating bores as well; a new pin cannot correct damaged or misaligned bosses.
Identify a Tool-Retaining Pin Correctly
Start with the complete breaker model, serial/revision and tool diameter. Add photographs showing the retainer in the front head, both ends after removal, the contact area and the corresponding notch or flat on the working tool. Record whether the design uses one retainer, a pair or another arrangement.
Retainer profile, end locking, groove position, working length and contact geometry can vary even where tool diameter is similar. Inspect the breaker bushings, working tool and front-head retainer area together. Replacing a worn retainer without correcting excessive tool movement or damaged mating surfaces can repeat the failure.
Hydraulic Breaker Pin Inquiry: Required Evidence
| Evidence | What to send | Decision supported |
|---|---|---|
| Installed position | Wide photograph with the pin location clearly marked. | Determines the pin category. |
| Equipment identity | Breaker and carrier nameplates plus bracket or drawing reference. | Connects the part to the correct assembly. |
| Geometry | Labeled dimensions, ends, grooves, holes and grease routes. | Supports drawing comparison. |
| Mating parts | Tool, bushing, boss, bore and retaining hardware photographs. | Shows whether the pin alone is the correct repair scope. |
| Wear evidence | Full pin, contact zones, cracks, bending and measurement sheet. | Preserves the reason for replacement. |
Hydraulic Breaker Pin Wear Patterns to Record
Localized flattening or stepped wear
Mark the pin orientation and original position before removal. Photograph the entire circumference and relate the worn area to the mating component. A single maximum or minimum diameter does not describe an uneven wear pattern.
Grooving, galling or transferred material
Preserve both mating surfaces and record lubrication condition. Do not polish away transferred material before review. Contamination, loss of lubrication, misalignment, rotation or incorrect material pairing may be relevant.
Bending or permanent deformation
Stop service and support the assembly. Do not straighten a pin for reuse. Compare against a verified drawing or new reference using an approved inspection method, and inspect the bracket, bosses, front head or tool that loaded it.
Cracks and damaged retention features
A suspected crack, broken keeper, damaged groove or deformed end requires qualified inspection. Photograph the feature before removal and after approved cleaning. Keep all fragments labeled by location.
Measure the Pin and the Mating Assembly
Pin diameter should be recorded at multiple labeled locations and orientations, not as a single rounded figure. Also record overall length, working length, shoulders, tapers, grooves, holes, threads, end plates and lubrication passages where applicable. Use instruments appropriate to the tolerance and identify them in the report.
The mating bore or tool contact area must also be inspected. A replacement pin installed in an oval, damaged or misaligned bore can have abnormal loading from the start. Keep measured wear values separate from nominal drawing dimensions and acceptance limits.
Material and Heat Treatment Cannot Be Judged by Color
A pin’s performance depends on its specified material, heat treatment, surface condition and geometry. Paint color, polish or a seller’s generic “hardened” label is not traceability. Agree in advance which material and processing evidence the supplier must provide.
If reverse engineering is required because no drawing exists, the scope must be explicit: sample condition, critical interfaces, required testing and who approves the final specification. Copying a worn pin without accounting for lost material can reproduce the wrong geometry.
Lubrication and Retention Details Matter
Mounting pins may use grease passages, seals, bushings, keepers, plates, bolts or locking arrangements. Tool retainers may use plugs, clips or other model-specific retention. Quote every related item separately and confirm what will be reused.
Follow the equipment documentation for lubrication product, interval and application method. Excess grease, wrong grease or blocked passages should not be diagnosed from appearance alone. Record whether grease reached the intended contact area and whether the passage remained open.
Related Parts to Inspect
For a mounting pin, inspect bracket bosses, excavator arm/link bores, bushings, seals, keepers and locking hardware. For a tool-retaining pin, inspect the working tool, upper and lower bushings, front-head slots and retaining components. Do not enlarge a bore or alter a keeper to make an unmatched pin fit.
If abnormal tool movement or repeated retainer damage is reported, use the breaker troubleshooting guide to document the full operating condition. A pin quotation should not replace a root-cause review.
How to Compare Hydraulic Breaker Pin Quotations
| Quotation item | Evidence expected | Buyer check |
|---|---|---|
| Pin type | Written installed position and drawing item. | Is it a mounting, tool-retaining or internal pin? |
| Fitment basis | Breaker/carrier identity or approved dimensional match. | Which model, bracket and revision were used? |
| Geometry | Controlled drawing or marked dimensional confirmation. | Are ends, grooves, holes and working length included? |
| Related hardware | Itemized keepers, seals, bushings, plates and fasteners. | What is included and what will be reused? |
| Supply details | Material/process evidence, quantity, packing and current lead time. | Which documents and protective measures are supplied? |
Handling and Packing
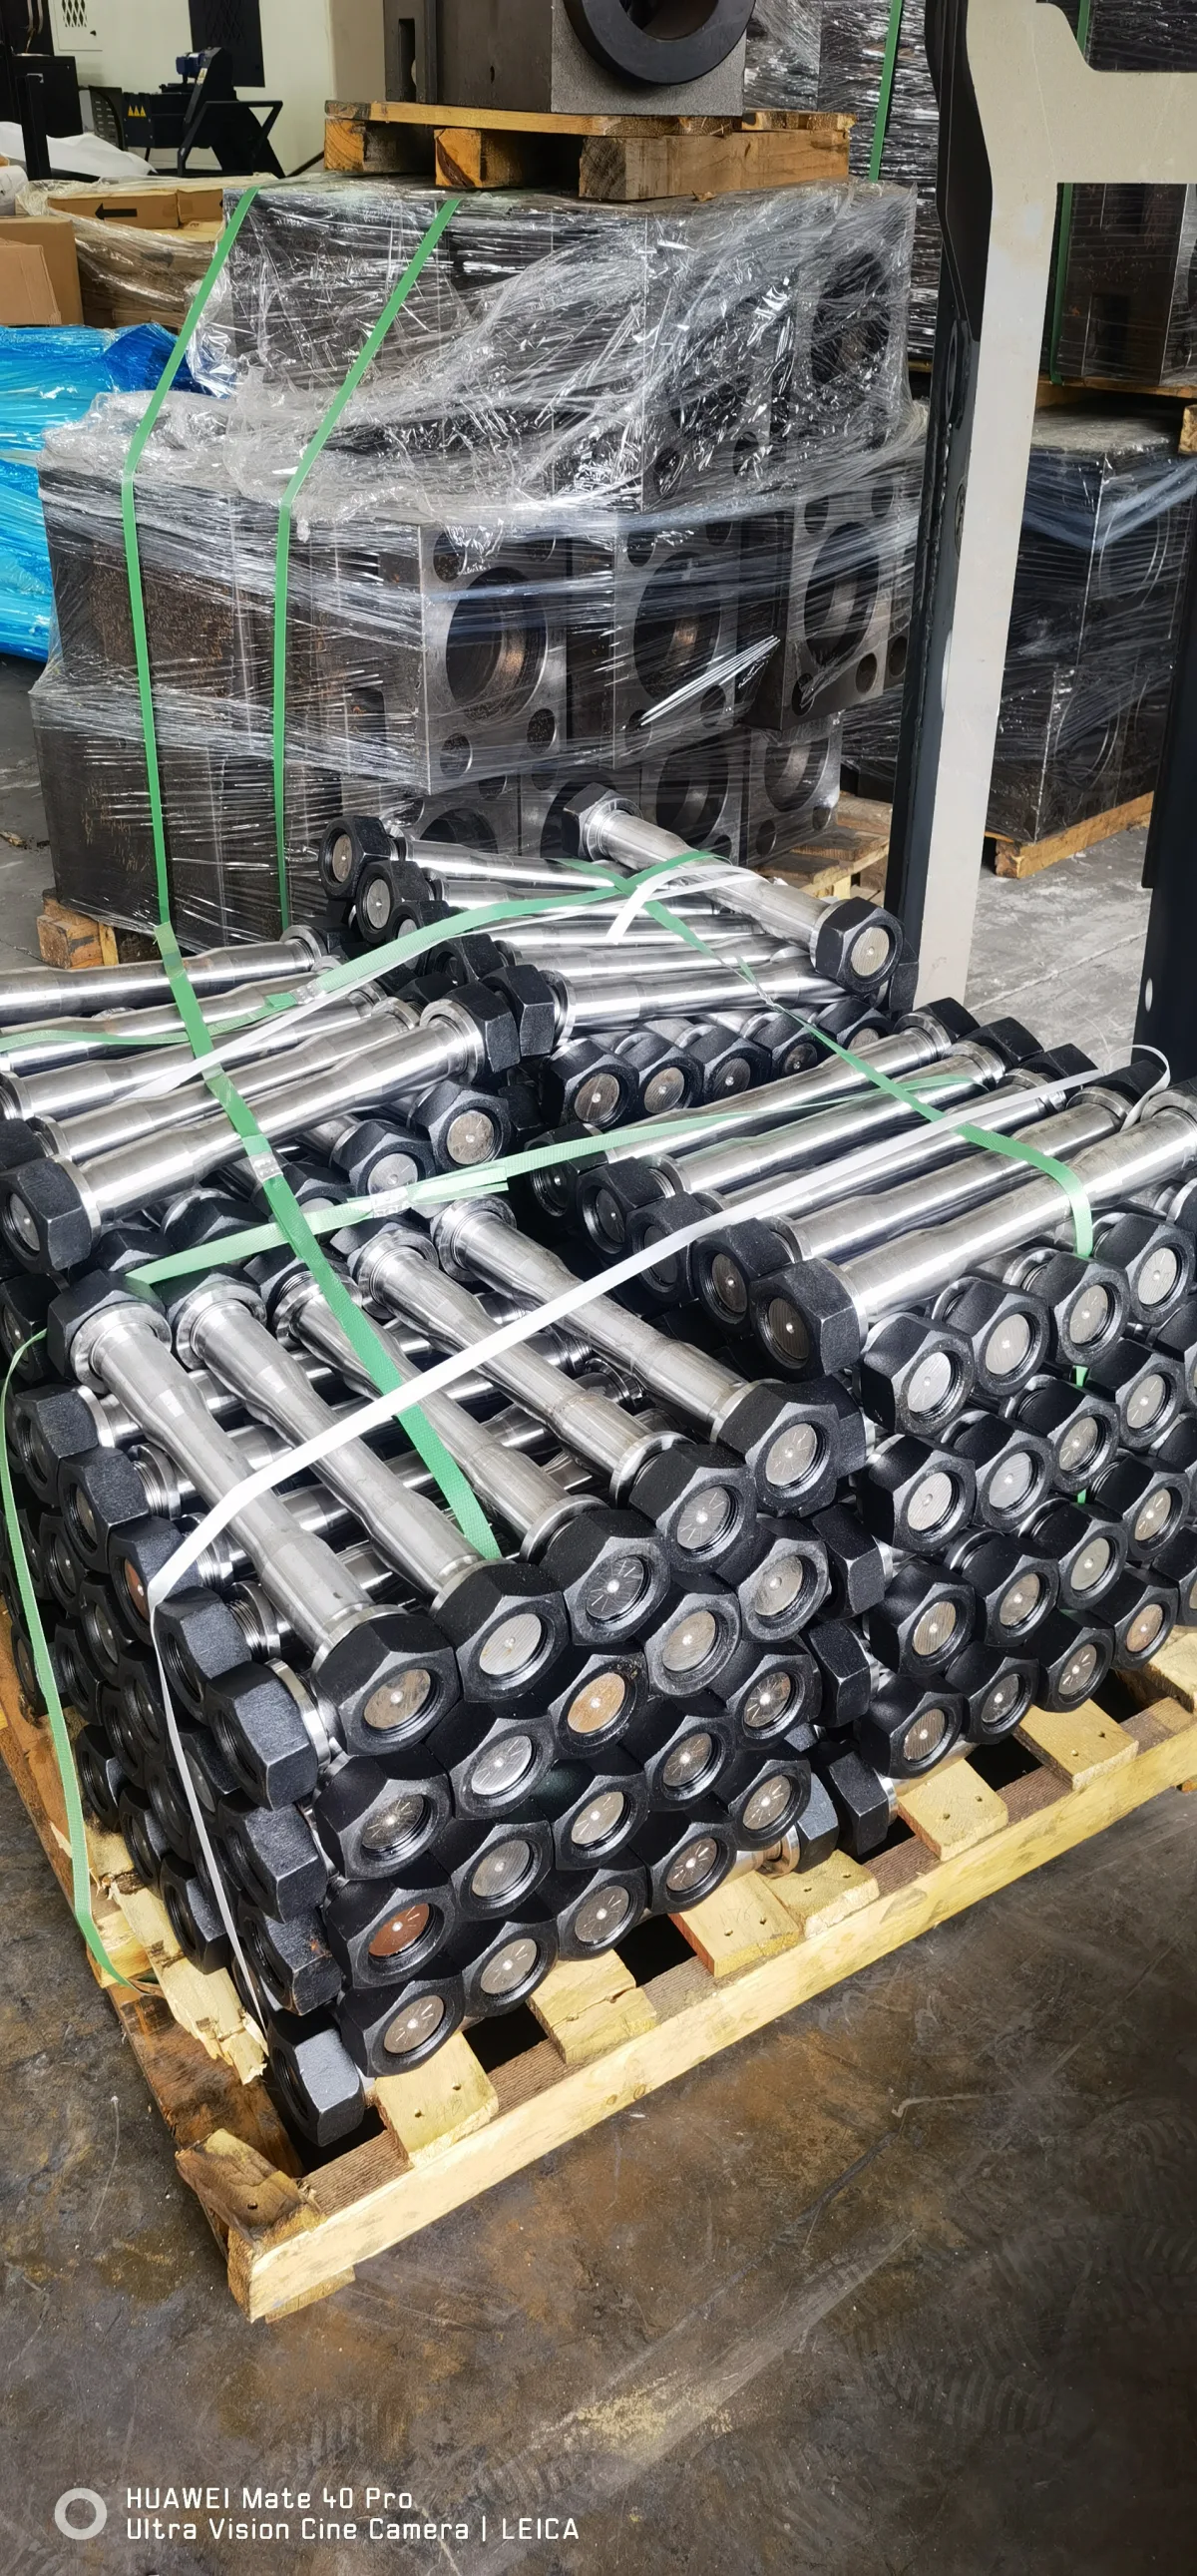
Protect finished diameters, threads, grooves and grease passages from corrosion and impact. Long pins should be restrained so they cannot bend or strike one another in transit. Keep each model and matched hardware set separately labeled.
Photograph the identification, protected surfaces, packing layers and closed package before dispatch. Use the actual net and packed weight for lifting and freight planning. Do not estimate from a visually similar pin.
Common Hydraulic Breaker Pin Ordering Mistakes
- Requesting “a pin” without marking its installed location.
- Using carrier tonnage or breaker color as the only identifier.
- Measuring only diameter while omitting working length, ends and retention details.
- Copying dimensions from a heavily worn sample as nominal values.
- Replacing the pin without inspecting the mating bore, tool, bushing or keeper.
- Assuming mounting pins and tool-retaining pins use the same material or acceptance rules.
Copy-and-Send Hydraulic Breaker Pin Inquiry
Hydraulic breaker pin inquiry
Pin type / installed location: ___
Breaker brand / model / serial: ___
Carrier model / bracket or coupler: ___
Drawing item / existing part number: ___
Diameter / overall length / working length: ___
End, groove, hole and grease-passage details: ___
Mating bore, tool or bushing inspection: attached / pending
Quantity and related hardware required: ___
Destination: ___
Please confirm pin category, fitment basis, full scope, inspection documents, packing and lead time.
Frequently Asked Questions
Is a hydraulic breaker pin the same as a tool retainer?
Sometimes sellers use “pin” for the tool retainer, but the term may also mean a bracket mounting pin. Mark the installed location and drawing item.
Can I order a mounting pin by excavator model?
The carrier model is necessary but may not be sufficient because brackets, couplers and linkage arrangements vary. Confirm the actual interface.
Can I reuse a pin with visible wear?
Only inspection against the exact acceptance criteria can support reuse. Appearance alone and a universal wear percentage are not adequate.
Should I replace the bushing with the pin?
Inspect both mating parts and follow the model-specific repair decision. A quotation can separate confirmed replacement from optional parts.
What if the nameplate is missing?
Send complete assembly photographs, all markings, the installed location, bracket/carrier identity and a labeled measurement sheet. Keep fitment pending until the evidence matches a controlled drawing.
Technical References
NPK’s official hydraulic-hammer operator manual treats tool retainers, mounting brackets and related service information within defined model ranges. Epiroc’s official model-specific parts information also separates lower-breaker and mounting components by drawing item. These references support identifying the installation position and exact model; they do not define LICHI pin dimensions or reuse limits.
Request a Model-Matched Pin Review
Send the marked installed-position photo, equipment identity, drawing item and measurement sheet through LICHI contact or the spare-parts support page. LICHI will confirm the pin category, fitment evidence, included hardware, availability, price, packing and lead time in writing.
Keep Comparing
Compare more breaker models and buyer guides related to this topic.


