
Hydraulic Breaker Hose Guide: Inspect, Identify, Order
Inspect hydraulic breaker hoses safely, identify both fittings and the circuit route, control contamination and request a correct replacement.
All buyer guides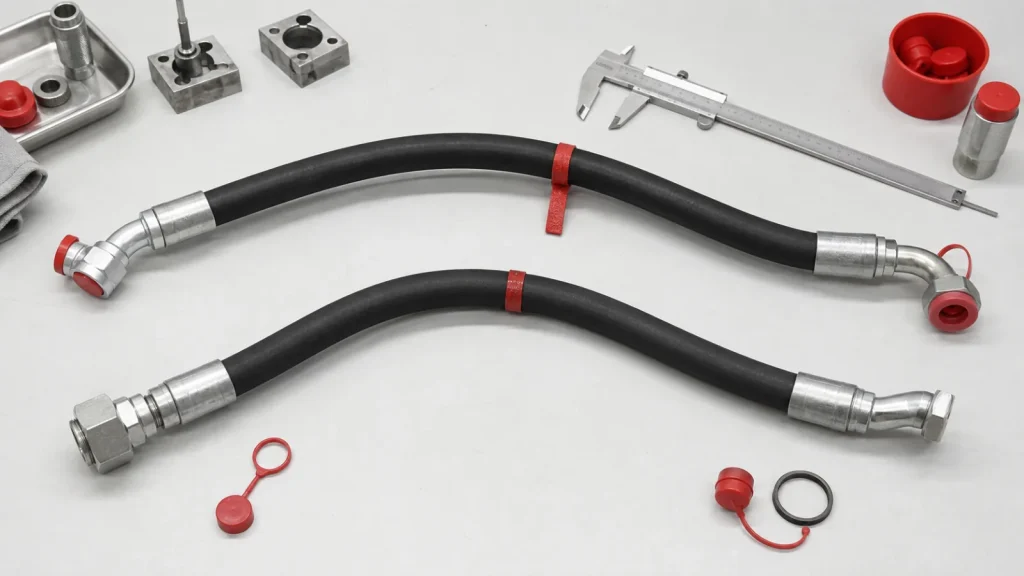
Hydraulic breaker hoses connect a high-vibration attachment to the carrier auxiliary circuit. A replacement must do more than reach between two ports: hose size, construction, working rating, end fittings, sealing method, length, routing and cleanliness must suit the exact breaker/carrier configuration. Visual similarity is not enough.
This guide explains safe external inspection, hose-identification evidence and the information needed for an accurate replacement request. It does not teach pressure-side fabrication, thread conversion or a universal hose specification. Hose assembly and hydraulic testing require qualified personnel, approved components and the relevant carrier and breaker documentation.
Injection hazard: A pinhole hydraulic leak can penetrate skin and may be difficult to see. Never search with a hand, touch a wet hose or tighten a live connection. Stop, lower and isolate the equipment, release pressure by the approved procedure, keep people clear and obtain immediate medical attention after suspected fluid injection.
Pressure and Return Hoses Have Distinct Jobs
The pressure line supplies controlled oil from the carrier to the breaker. The return line carries oil back through the approved return path. Depending on the system, additional lines may serve case drain, lubrication or another function. Port location is not a universal code, and hose color or length does not identify the circuit.
Trace each connection using the carrier hydraulic diagram, installed valve/kit drawing and breaker manual. Label both ends before disconnection. If the route cannot be confirmed, stop and ask the carrier dealer, installer or responsible technician. Reversing or misrouting lines can damage components or create unsafe pressure conditions.
- 1
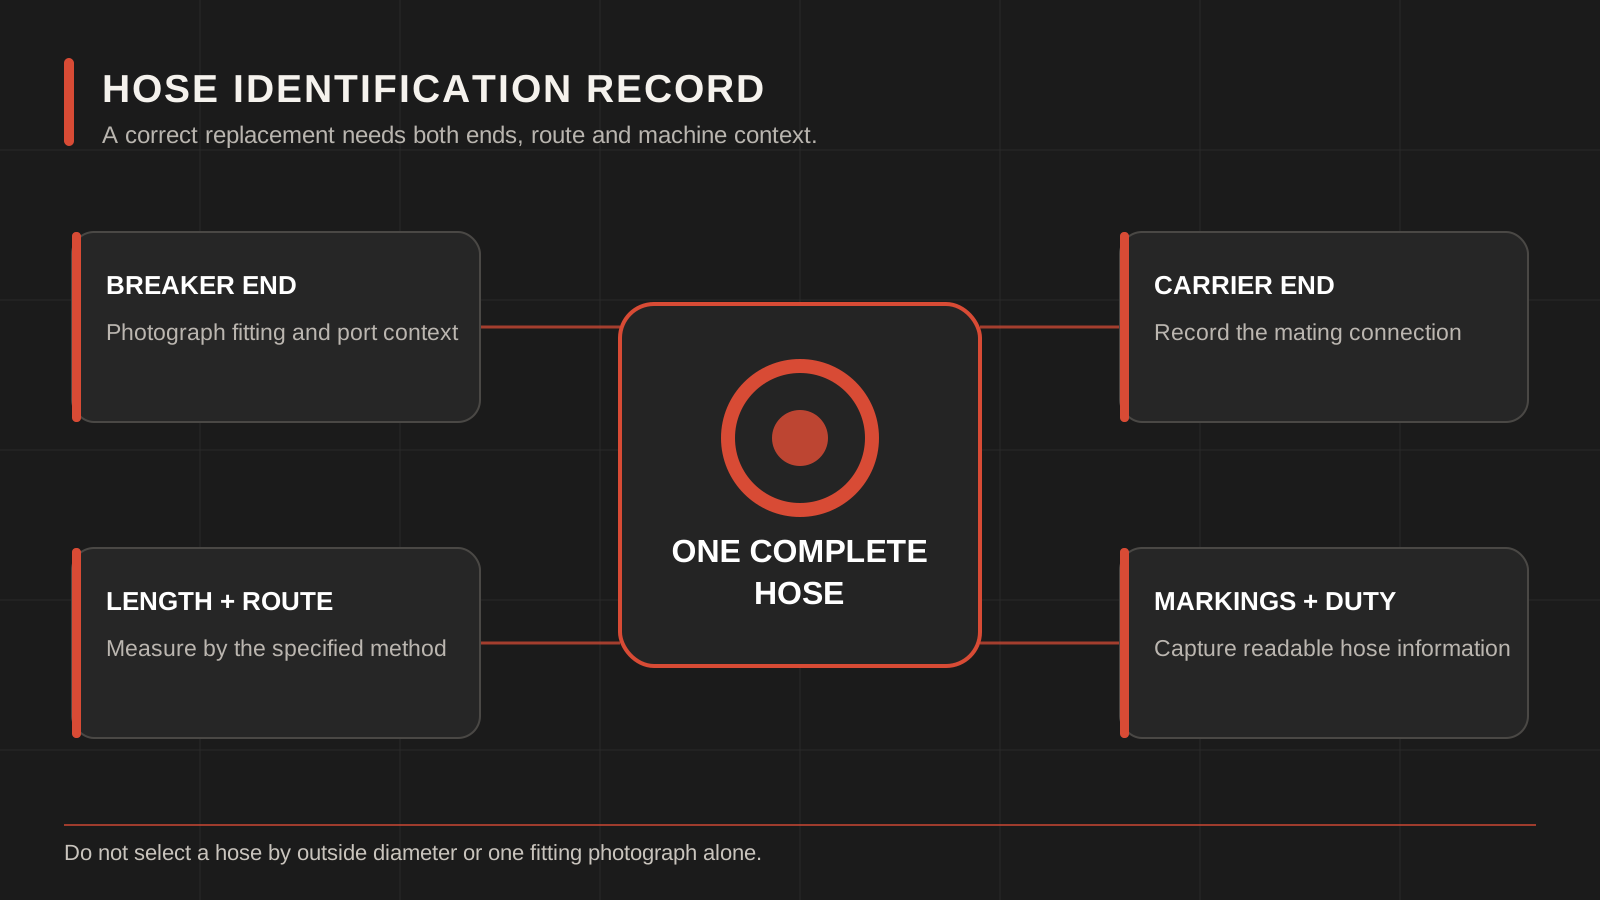
Trace the circuitPressure, return or other function from approved drawings
- 2
Record the hoseMarking, size, construction, rating, length and date where shown
- 3
Identify both endsFitting family, size, angle, orientation and sealing method
- 4
Review the routeMovement, bend, twist, abrasion, heat, crush and tensile load
- 5
Control cleanlinessCap, assemble, flush/test if required and document release
Safe External Hose Inspection
Inspect before each shift and after any event that could pull, crush or heat a hose. Use good lighting and view the complete route while the attachment is supported and the system is made safe. Look for abrasion, exposed reinforcement, cracks, blisters, hardening, soft spots, kinks, crushed areas, fitting movement, damaged guards and fresh fluid.
Inspect the route at several approved attachment positions because a hose can look relaxed on the ground and become tight at full curl or extension. Keep everyone outside the movement and drop zone. Never stand under a raised attachment to take a photograph.
Hose Conditions That Require a Stop
| Observed condition | Immediate action | Release evidence |
|---|---|---|
| Active leak, mist or suspected pinhole | Stop, isolate, keep clear and use the approved leak procedure. | Source identified, affected assembly replaced/repaired by qualified personnel and controlled leak test passed. |
| Reinforcement exposed or cover deeply abraded | Remove from service; do not wrap it as a production repair. | Correct replacement and route/protection cause addressed. |
| Kink, crush, blister or fitting displacement | Do not pressurize further. | Assembly replacement and system inspection as required. |
| Hose becomes tight, twisted or trapped during movement | Stop movement and support the attachment. | Corrected length/routing and full-range recheck. |
| Unknown hose/fitting or uncertain circuit route | Do not connect by trial. | Drawing, supplier or technician confirmation recorded. |
Read the Hose Marking Before It Is Damaged
A hose cover may show manufacturer, hose type or standard, nominal size, working pressure, date or batch code. Photograph the complete repeated marking while it is legible. Do not treat a single number as the full specification; it may refer to size, product series or manufacturing data.
If the marking is worn away, the responsible hose specialist must derive the assembly from equipment documentation and controlled measurements. Do not strip the cover further, cut the hose or estimate the reinforcement from appearance while the assembly is in service.
How to Identify Both End Fittings
Hydraulic fittings can share a similar outside diameter while using different thread forms, seat angles, flanges, O-rings or sealing faces. A thread gauge, caliper and manufacturer identification chart may be required after safe removal and cleaning. Measure the actual fitting; do not infer it from the wrench size.
- Photograph each end square-on and from the side, including the seal face and any O-ring location.
- Label breaker end and carrier end; state straight, elbow or flange arrangement and any adapter.
- Record thread outside diameter, pitch and seat evidence only with the proper method.
- Record the angular relationship between ends when the hose has elbows; uncontrolled orientation can introduce twist.
- Identify the port or adapter separately from the hose fitting. A fitting may seal against an adapter that remains on the machine.
Never combine incompatible thread families with sealant or extra force. The approved fitting and sealing method must match the port.
Measure Hose Length Without Creating a New Routing Problem
State the supplier’s requested length convention—for example, between fitting reference points—not merely “overall length.” Photograph the measuring setup and keep the hose naturally positioned, without stretching it. Where elbows are used, record orientation in a drawing.
The old hose length is evidence, but not automatically the correct design. If it failed from tension, abrasion or excess movement, repeating its dimensions may repeat the cause. Review the complete attachment range, clamp locations, protective sleeves and minimum bend requirements with the hose specialist and equipment manuals.
Rating and Compatibility Questions
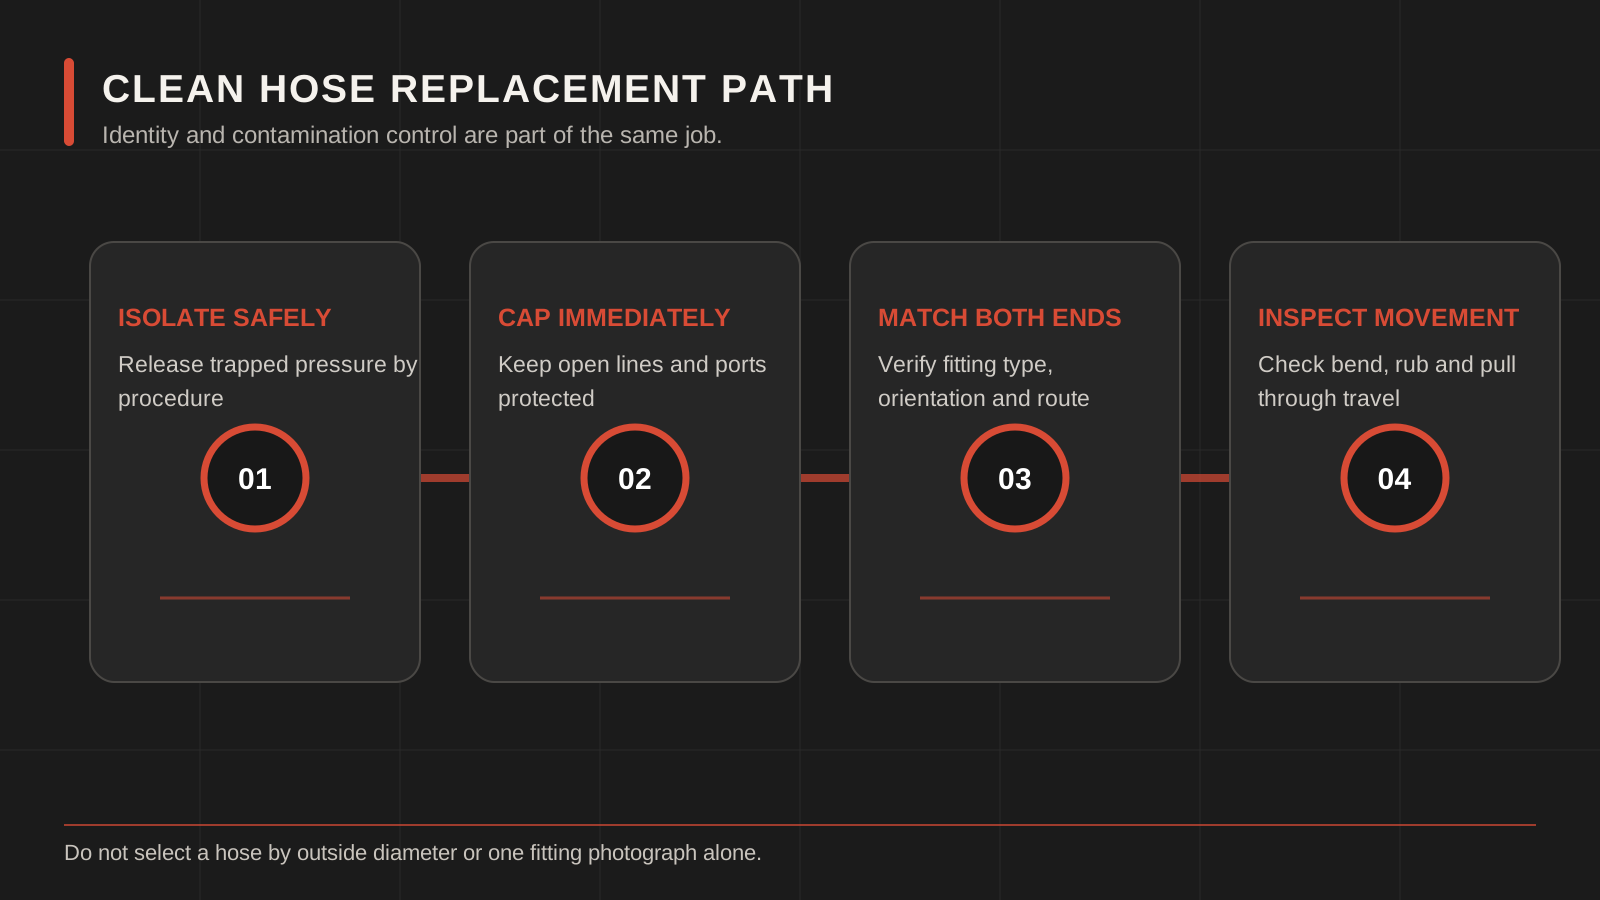
The hose assembly must be suitable for the approved system pressure, impulse/vibration duty, temperature, hydraulic fluid and environmental exposure. The weakest component—including hose, fittings, adapters and connection method—limits the assembly. A high pressure number printed on the hose does not validate an incompatible end fitting or assembly process.
Ask the qualified hose supplier to state the applicable hose/fitting system and assembly standard. Mixing components or crimp data without the manufacturer’s approval can invalidate the assembly. Use protective sleeves or guards where required, but never use a sleeve to hide a damaged hose.
Contamination Control During Replacement
A hydraulic breaker circuit can carry contamination into the valve, cylinder and carrier system. Before opening it, clean the work area and prepare correct clean caps/plugs. Cap the machine ports and removed hoses immediately; do not use cloth, tape or improvised plugs that shed material.
- Confirm the machine is isolated and pressure is released by the approved procedure.
- Clean around connections without forcing debris toward the seal face.
- Label every line and port before loosening the first connection.
- Use clean caps immediately on both exposed sides.
- Keep replacement assemblies sealed until installation.
- Follow the equipment procedure for filling, flushing, bleeding or filter action where required.
- Perform a controlled leak/function check and document any contamination event.
If a hose failed internally, released reinforcement/debris or remained open in a dirty environment, the service scope may extend beyond replacing the visible assembly. The carrier and breaker service teams should decide how to inspect and clean the affected circuit.
Preserve the removed hose until the failure review is closed. Cap both ends, label its original route and avoid bending or cutting through the damaged area. The assembly can show whether abrasion began outside, the fitting moved, or internal damage requires a wider contamination response.
Distinguish a Hose Leak From Oil Traveling From Elsewhere
Oil follows gravity and surfaces, so the lowest wet hose may not be the source. After safe shutdown, the approved external cleaning and observation process should establish where fluid first reappears. The hydraulic breaker oil-leak guide provides a source-zone workflow and technician report template.
Do not tighten every fitting in response. Over-tightening can damage a seal face, thread or adapter while leaving the original leak unresolved. Record the exact connection and use the specified assembly method.
Hydraulic Breaker Hose Ordering Checklist
| Data group | What to send | Common omission |
|---|---|---|
| Application | Carrier model/configuration, breaker model/serial and circuit function. | Only excavator tonnage. |
| Hose identity | Complete cover marking, size, length convention and existing part number. | A cropped photo of one number. |
| End A | Port, fitting family/size, straight/elbow, seal and clear photos. | Wrench size used as thread size. |
| End B | Same information plus elbow orientation relative to End A. | Assuming both ends match. |
| Route | Full-range photos/video, clamps, sleeves, bend and failure location. | Length copied without investigating the failure cause. |
| Commercial | Quantity, destination, availability, lead time, packing and required certificates. | Catalog presence treated as current stock. |
Common Hose Replacement Mistakes
- Choosing a hose from appearance, color or outside diameter.
- Identifying pressure and return by which side of the breaker they occupy.
- Measuring the thread with a ruler or using wrench size as the nominal fitting.
- Copying a failed hose without correcting twist, abrasion or tension.
- Leaving ports open during measurement or waiting for parts.
- Reusing damaged O-rings, seals or adapters without approved inspection.
- Using tape, clamps or sleeves as a repair for a leaking pressure hose.
- Checking for leaks with a hand after commissioning.
Copy-and-Send Hose Request
Hydraulic breaker hose inquiry
Carrier brand / model / configuration: ___
Breaker brand / full model / serial: ___
Circuit function: pressure / return / other / uncertain
Existing hose marking and part number: ___
Length and measurement convention: ___
End A fitting / seal / port: ___
End B fitting / seal / port: ___
Elbow orientation and route: ___
Failure or replacement reason: ___
Photos attached: complete route / marking / both ends / ports / damaged zone
Quantity and destination: ___
Please confirm: specification / rating / fitting system / fitment / availability.
Frequently Asked Questions
Can I use the same hose for pressure and return?
Do not assume so. Each line’s function, rating, size, fittings and routing must follow the approved system design.
Can a hydraulic hose be repaired with tape or a clamp?
No. A leaking or structurally damaged high-pressure assembly must be removed from service and handled by qualified personnel.
Can I order from hose length and thread diameter?
That is incomplete. Hose construction/rating, both fitting families and seals, orientation, route, circuit and equipment identity are also required.
Why did a new hose fail quickly?
Possible causes include wrong specification, assembly error, twist, abrasion, insufficient/extra length, heat, crushing, pressure condition or contamination. Preserve the failed hose and route evidence for diagnosis.
Does LICHI make a universal breaker hose kit?
No universal fitment is claimed. LICHI reviews the specific carrier, breaker, circuit, fittings and route before confirming the quoted assembly.
Manufacturer Reference Used for This Guide
The official NPK hydraulic hammer operator manual provides model-specific hose, coupling and daily-inspection requirements. It supports the trace-and-inspect method here but does not define the replacement hose for a LICHI installation.
Request a Model-Matched Hose Review
Send the circuit trace, hose marking, both ends, route photographs and destination through LICHI contact. The spare-parts support hub explains commercial confirmation, while the installation guide covers full attachment commissioning. Final fitment, rating, assembly specification, availability, price, packing and lead time require written confirmation.
Keep Comparing
Compare more breaker models and buyer guides related to this topic.


