
Hydraulic Breaker Front Head: Inspection and Ordering Guide
Identify a hydraulic breaker front head, record wear and damage evidence, measure key interfaces and prepare a model-matched replacement inquiry.
All buyer guides
A hydraulic breaker front head is the lower power-cell section that supports the working tool and connects the cylinder area to the tool-retention system. It is exposed to impact, side loading, dust, grease and wear debris, so a correct replacement decision requires more than a similar-looking casting. The breaker model, serial or revision, tool diameter, bushing arrangement, retainer design and measured interfaces must agree.
This guide explains how to identify a front head, preserve useful inspection evidence and prepare a model-matched parts inquiry. It does not provide disassembly, pressing, welding, machining, torque or clearance instructions. Those procedures and limits must come from the service manual for the exact breaker and be carried out by trained personnel.
Safety boundary: A breaker can retain hydraulic and gas pressure after shutdown, and the front head, tool and bushings are heavy. Lower and isolate the attachment, prevent unexpected movement and follow the approved depressurization and lifting procedure before any internal work. Never loosen fasteners, remove retainers or support a suspended power cell with improvised equipment.
What the Hydraulic Breaker Front Head Does
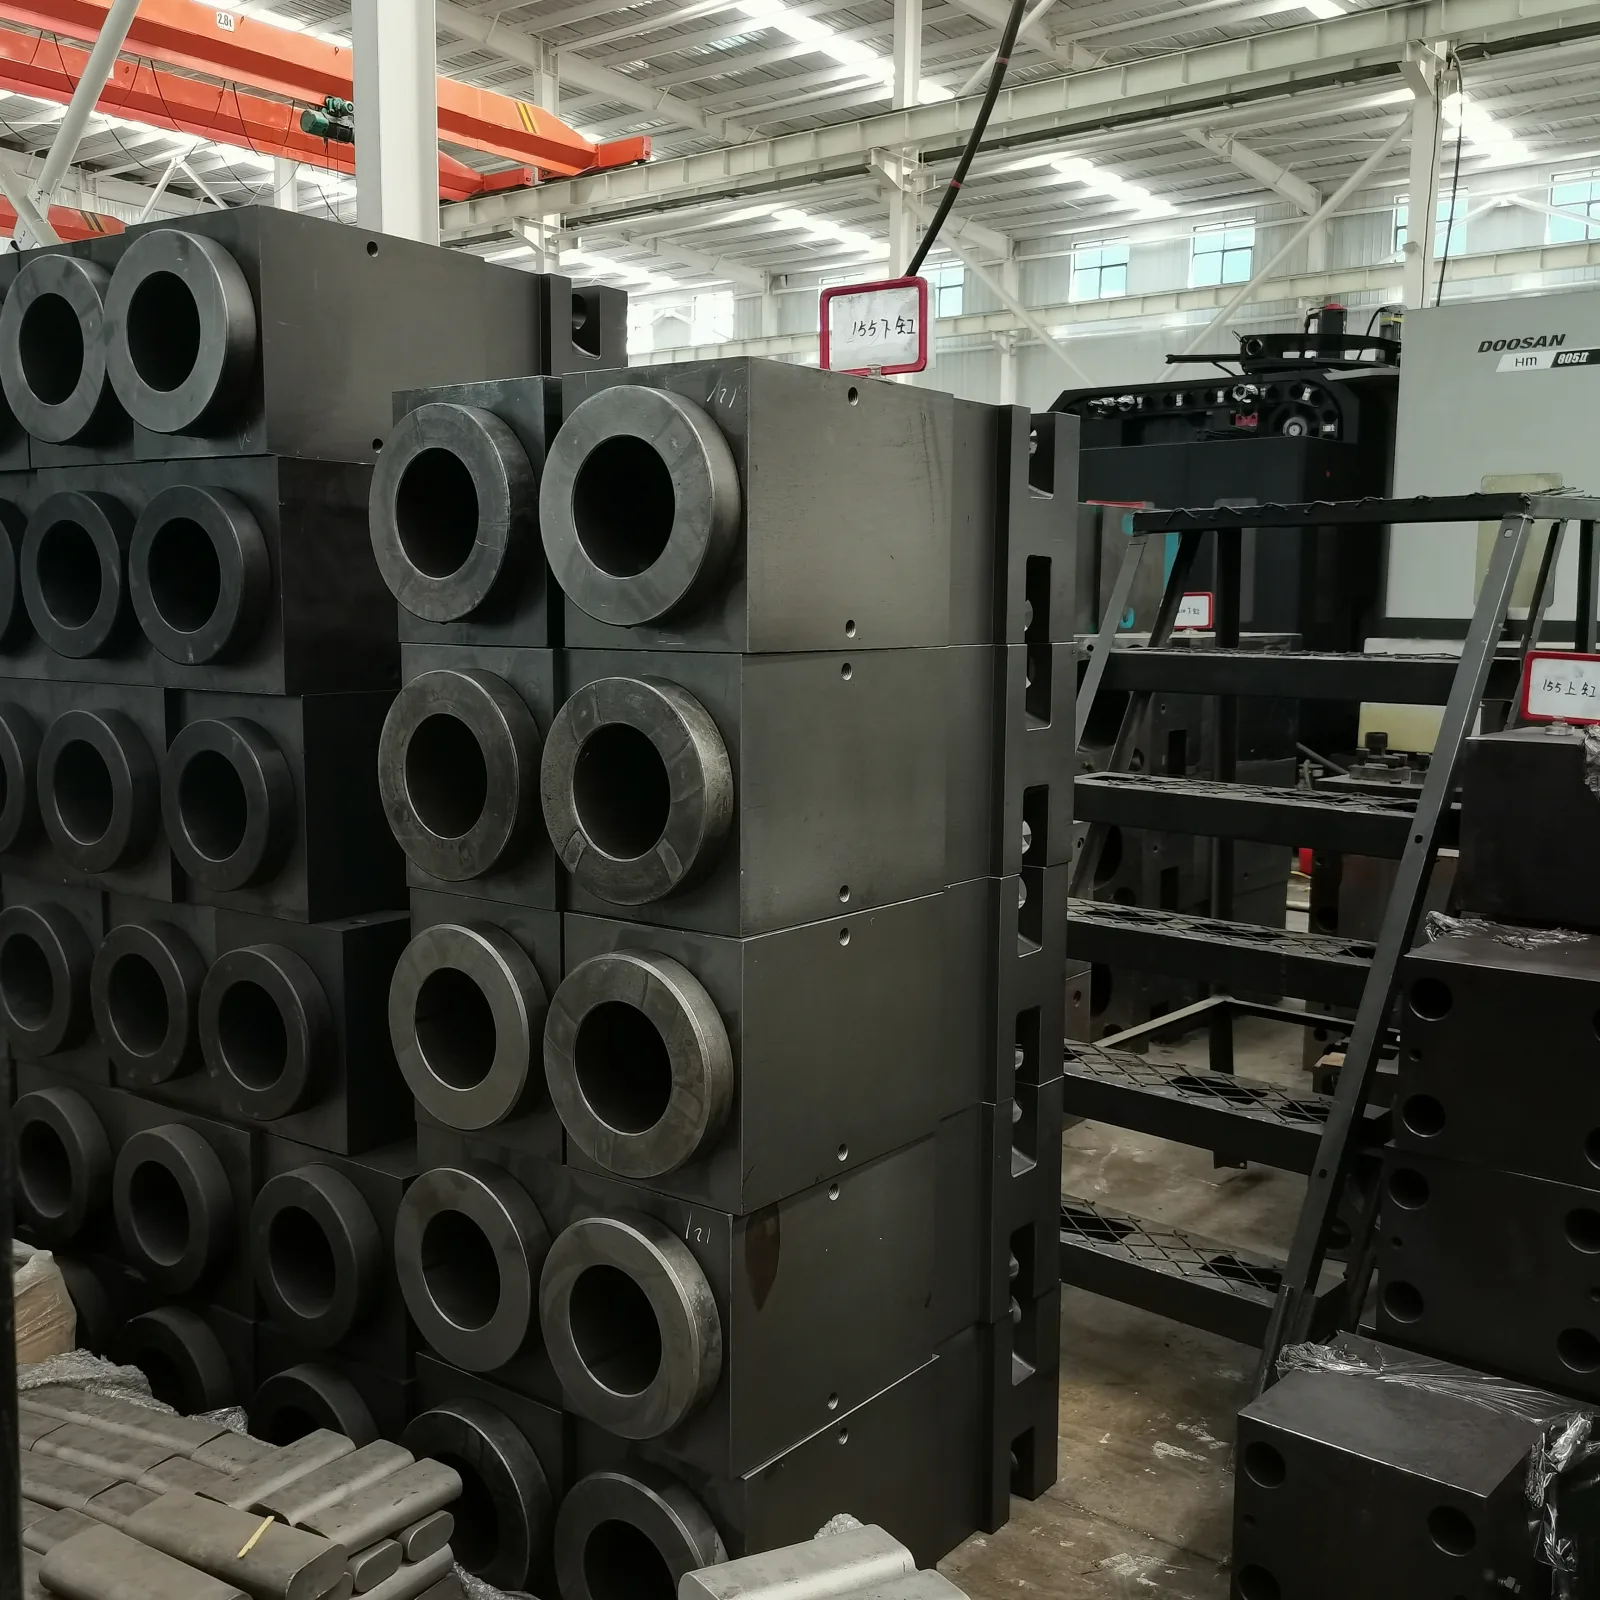
The front head forms the guided path around the lower part of the working tool. Depending on the design, it carries upper and lower tool bushings, retainer bars or pins, seals, scraper rings, plugs and lubrication passages. It also provides the structural interface through which the clamped power-cell sections remain aligned during repeated impact.
The front head is not the same as the external breaker housing. A silent or box-type breaker may have a protective shell and dampers around the power cell, while the front head remains part of the internal percussion assembly. The hydraulic breaker parts diagram shows this relationship at assembly level.
Why Front-Head Identification Is Model-Specific
Two front heads can share an approximate outside shape while differing at the interfaces that matter. The tool bore, bushing seats, retainer position, through-bolt pattern, lubrication route, seal grooves, cylinder contact face and overall length can change between models or revisions. Even when the stated tool diameter is the same, the retainer geometry and bushing stack may not be interchangeable.
Start with the breaker nameplate and complete model designation. Add the serial number or production revision whenever available. If the plate is missing, send photographs of the complete breaker, power cell, hose ports, housing style and old front head, plus tool diameter and any casting or stamped marks. Mark the request as pending confirmation until the supplier has enough evidence to match a drawing.
| Evidence | Why it matters | Minimum record |
|---|---|---|
| Breaker identity | Links the request to the correct power-cell family and revision. | Nameplate, full model, serial and four-side breaker photographs. |
| Tool interface | Separates similar bodies with different tool and retainer geometry. | Tool diameter, retaining area, bushing layout and labeled photographs. |
| Body interface | Controls alignment with the cylinder and fastener system. | Contact face, bolt pattern, dowel or locating features and reference dimensions. |
| Lubrication and ports | Passages and plugs can vary by design. | Both sides, port positions, thread identification and existing fittings. |
| Old-part marks | May connect the component to a drawing or supplier record. | Uncropped images of cast, stamped or laser-marked identifiers. |
When a Front Head Should Be Inspected
Front-head inspection is appropriate when the working tool has abnormal movement, a bushing repeatedly wears unevenly, the retainer area is damaged, grease escapes from an unexpected location, a crack is suspected or a major impact event occurred. It is also part of a controlled overhaul after related tool, bushing or piston damage. None of these observations automatically proves that the complete front head must be replaced.
Begin with external evidence. Record the working tool, bushings, retainers, visible housing movement, lubrication condition and the material being broken. If the complaint is weak or irregular impact, use the broader hydraulic breaker troubleshooting guide before treating the front head as the cause.
Front-Head Damage Evidence to Preserve
Cracks or suspected cracks
Stop operation and isolate the breaker. Photograph the location at several distances, keep the area orientation clear and record whether the mark changes after approved cleaning. A phone image cannot certify a crack or approve reuse; use the inspection method and acceptance criteria specified by the manufacturer or qualified repair provider.
Bushing-seat or bore damage
Document wear around the full circumference, not only the largest-looking area. Record which bushing occupied each position, how it was removed and whether the mating component shows corresponding marks. Do not machine the seat before the decision-maker has reviewed the original evidence.
Retainer-slot deformation
Inspect the removed tool and retainers with the slot. Peening, impact marks or material transfer can be a result of tool movement, worn bushings, incorrect parts or operating forces. The pattern should be reviewed as a system rather than assigned to one component from appearance alone.
Contact-face or bolt-area damage
Preserve evidence around the cylinder contact face, fastener holes and locating features. A front head that cannot remain correctly aligned may affect other expensive components. A replacement should not be installed until the related cylinder face, fasteners and alignment features have also been checked.
Measure Only Against a Controlled Drawing
A workshop measurement record is useful when every value has a labeled location, unit and instrument. Ask the supplier which dimensions control fitment before measuring. Typical categories include overall length, principal bore and seat diameters, seat depths, contact-face dimensions, fastener center distances, retainer position and port details, but the exact list depends on the design.
Do not round a worn measurement into a nominal size or assume that one matching diameter proves compatibility. Keep raw readings separate from the final accept/reject decision. If an alternative part is proposed, request a marked comparison drawing and written confirmation of the breaker identity used for matching.
Related Parts to Check at the Same Time
A front-head replacement rarely stands alone. Review the tool, upper and lower bushings, retainers, seals or scraper rings, grease passages, cylinder contact face, through-bolts and any locating parts identified in the model drawing. The bushing wear guide explains how to record guide-interface evidence without inventing a universal wear limit.
If debris, unusual scoring or heat evidence is present, include oil and contamination findings from the carrier circuit. Installing a clean front head around damaged mating parts or into a contaminated system can repeat the failure. The repair scope should state which related parts were inspected, replaced or accepted.
How to Review a Front-Head Quotation
| Quotation item | Evidence expected | Buyer question |
|---|---|---|
| Fitment basis | Full breaker model, serial/revision or a controlled dimensional match. | Which drawing and identity evidence were used? |
| Supply scope | Clear statement of bare body versus assembly. | Are bushings, seals, plugs, fittings and retainers included? |
| Critical interfaces | Drawing or written confirmation of tool, bushing, cylinder and bolt interfaces. | Which measurements still require our confirmation? |
| Inspection status | Specified acceptance and traceability documents agreed before order. | What inspection evidence accompanies this part? |
| Commercial terms | Quantity, current availability, packing, destination and lead time in writing. | Is this confirmed stock or a production quotation? |
Handling and Packing a Front Head
Protect machined bores, seats, threads and contact faces from impact and corrosion. Cap or cover openings with clean materials that do not shed debris. The crate or pallet should restrain the component without loading a delicate machined edge, and the lifting plan should use approved points or a controlled sling arrangement.
Before dispatch, photograph the preserved surfaces, identification marks, packing layers and closed package. State the net component weight and packed dimensions from the actual shipment record. Do not estimate lifting or freight values from a different model.
Common Front-Head Ordering Mistakes
- Ordering by excavator tonnage: the carrier class does not identify the breaker power cell.
- Matching only the tool diameter: bushing seats, retainers, fasteners and body interfaces may still differ.
- Using a marketplace photograph as a drawing: perspective hides critical dimensions and revisions.
- Cleaning or machining before documentation: the original failure evidence may be lost.
- Assuming every accessory is included: a bare front head and a complete lower assembly are different quotation scopes.
- Replacing the visible part only: a damaged cylinder face, bushing, tool or fastener can affect the new component.
Copy-and-Send Front Head Inquiry
Hydraulic breaker front head inquiry
Breaker brand / full model / serial: ___
Body type and tool diameter: ___
Existing part number or marks: ___
Reason for replacement / inspection finding: ___
Bushing and retainer arrangement: ___
Labeled measurements attached: yes / no
Photos attached: complete breaker / nameplate / front head / bore / contact face / ports
Required scope: bare body / assembled unit / to be confirmed
Quantity and destination: ___
Please confirm: fitment basis / inclusions / inspection evidence / availability / packing.
Frequently Asked Questions
Is the front head the same as the breaker housing?
No. The front head belongs to the power-cell assembly around the working tool. The external housing or side plates protect and mount that assembly.
Can I order a front head using only the chisel diameter?
No. Tool diameter is one identifier, but bushing seats, retainer geometry, fastener pattern, cylinder interface and production revision also matter.
Does a worn bushing mean the front head must be replaced?
Not automatically. The bushing and its seat must be inspected against the exact model criteria. Replace only the scope supported by the evidence.
Can a damaged front head be welded or machined?
Only an approved repair procedure and qualified inspection can answer that for the exact material and damage location. Do not use a generic online repair method.
What should be included with a replacement front head?
The scope varies. Ask whether bushings, seals, plugs, fittings, retainers and related fasteners are included or quoted separately.
Technical References
Epiroc’s official hydraulic breaker parts information separates the cylinder cover, cylinder and lower breaker part into model-specific sections. NPK’s official support library provides model-specific operator, tool, inspection and storage documents. These sources establish the need for exact-model documentation; they do not define LICHI dimensions or repair limits.
Request a Model-Matched Front Head Review
Send the completed evidence pack through LICHI contact or the hydraulic breaker parts support page. LICHI will review the supplied breaker identity, photographs and measurements before confirming fitment, scope, availability, price, packing and lead time in writing.
Keep Comparing
Compare more breaker models and buyer guides related to this topic.


