
Hydraulic Breaker Parts Diagram: Names, Functions and Ordering Data
Identify hydraulic breaker parts, learn their functions, and collect the model, serial, measurements and photos needed for an accurate parts request.
All buyer guides
A hydraulic breaker parts diagram is useful only when it helps you do two things: understand which assembly a part belongs to and collect enough information to order the correct replacement. A generic drawing can explain the main groups, but it cannot confirm fitment for a specific breaker. Model, serial range, tool diameter, dimensions and photos still control the final match.
This guide names the major hydraulic breaker parts, explains what each group does, and shows what ordering data a supplier needs. It is written for equipment owners, dealers and service teams preparing a parts inquiry—not as a substitute for the operation, service or parts manual issued for the exact breaker.
Safety and fitment boundary: Stored hydraulic pressure and gas pressure can cause serious injury. Depressurization, gas handling, disassembly, inspection and repair must follow the exact manufacturer manual and be performed by trained personnel. Do not use this generic guide to set pressure, torque, clearance or wear limits.
Hydraulic Breaker Parts Diagram: The Main Functional Groups
The map below shows a common top-to-bottom grouping. It is intentionally simplified. Valve position, accumulator design, fastener layout, bushing arrangement and housing construction vary by brand, model and serial range.
Bracket, pins, hoses and couplings
Connect the breaker to the excavator and hydraulic circuit
- 1
Back head / gas chamberUpper body section; design and charging procedure are model-specific
- 2
Valve and accumulator groupControls or stabilizes oil flow where fitted; layout varies
- 3
Cylinder and piston groupGuides the reciprocating piston and transfers impact energy
- 4
Seal and fastener groupSeals oil passages and clamps body sections together
- 5
Front head and bushingsSupports and guides the working tool
- 6
Retainers and working toolRetains the chisel and delivers impact to the material
Official parts catalogs normally combine an illustration with model-specific item numbers, part numbers, quantities and revision information. That is why a picture of a similar breaker is not enough for final order release. For example, the official Epiroc SB 202 parts information lists model-specific components and quantities rather than treating every breaker as one universal design.
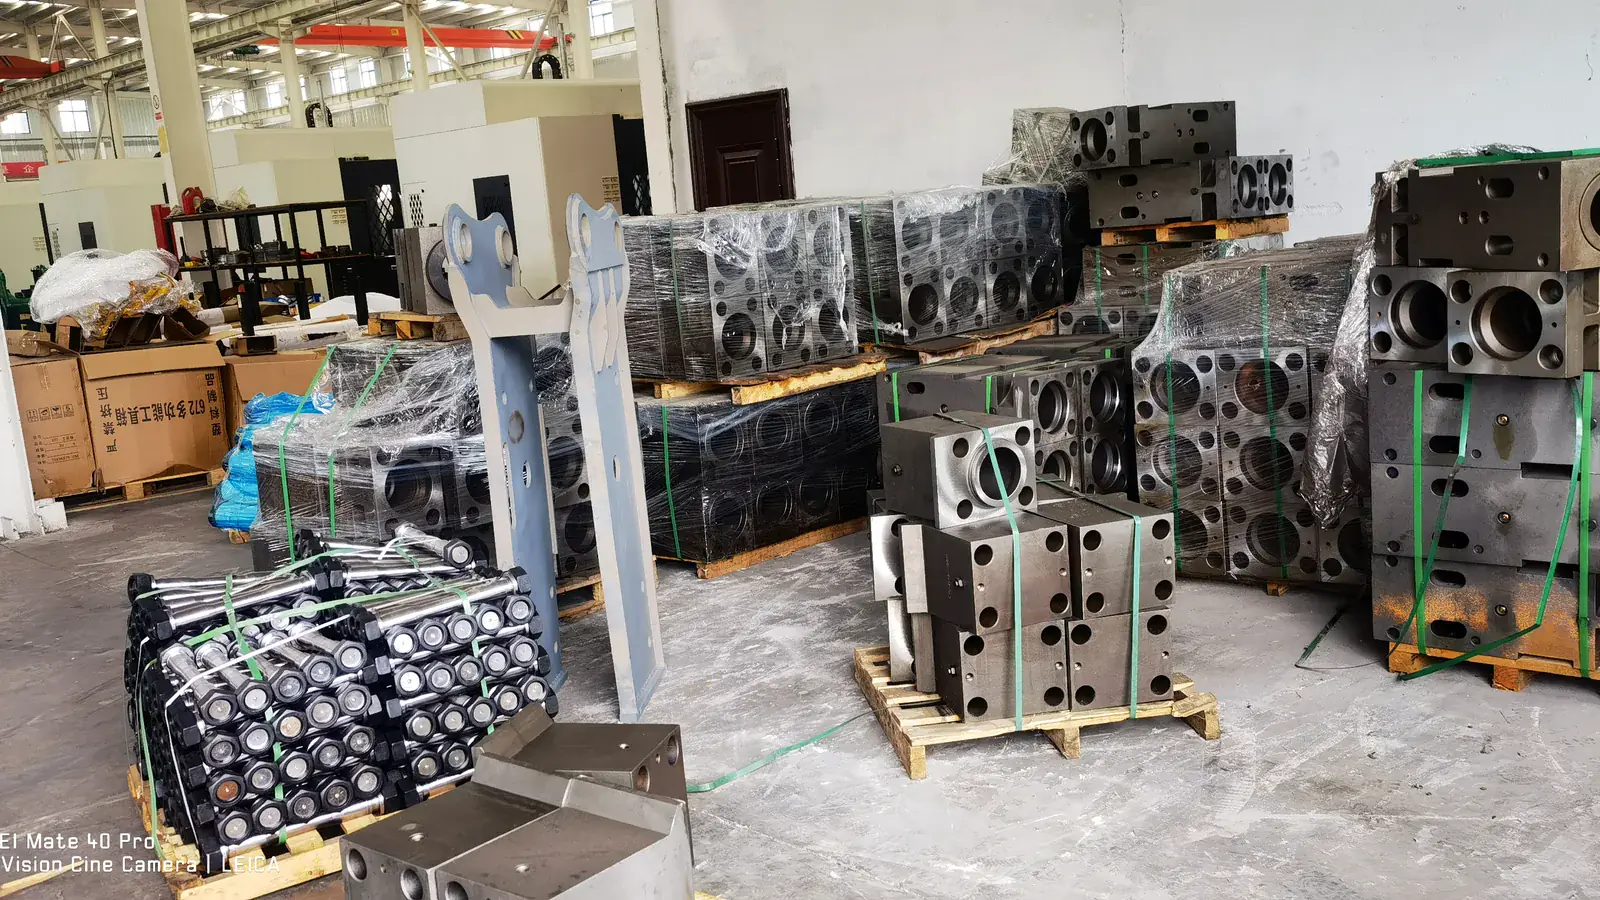
Hydraulic Breaker Parts Names and Functions
| Part or group | Main function | What to check before ordering |
|---|---|---|
| Back head / back cylinder | Forms the upper body section and, on many designs, contains a gas chamber that works with the impact cycle. | Exact breaker model, serial number, body dimensions, port details and clear photos. Gas pressure and service method must come from the exact manual. |
| Control valve | Directs hydraulic oil during the piston cycle. Some designs integrate the valve into the cylinder; others use a separate valve group. | Model and serial range, valve location, removed-part photos, markings and technician diagnosis. |
| Accumulator and diaphragm | Where fitted, the accumulator helps manage pressure fluctuation. A diaphragm separates the gas and hydraulic sides in applicable designs. | Confirm that the model uses this design. Send accumulator housing, cover, diaphragm and connection photos; never assume a universal charging value. |
| Cylinder / main body | Contains the working bores, oil passages, seals and guidance surfaces for the piston and related components. | Model, serial range, casting or part markings, port arrangement, bore measurements and inspection report. |
| Piston | Reciprocates inside the breaker and transfers impact energy to the working tool. | Do not order from overall length alone. Confirm model, serial, critical diameters, groove positions, removed-part photos and the cause of failure. |
| Seal kit | Seals hydraulic passages and moving interfaces. A kit may include O-rings, rod seals, backup rings and wipers according to the design. | Breaker model and serial number, leak location, cylinder version and kit contents. “Seal kit” is not one universal package. |
| Through-bolts / side rods | Clamp the main breaker body sections together. | Exact model, bolt length, diameter, thread, head and nut arrangement. Tightening procedure must come from the service manual. |
| Front head / front cylinder | Forms the lower body section and carries the working-tool guidance and retention parts. | Model, serial, tool diameter, bushing arrangement, retainer layout, measurements and wear photos. |
| Upper and lower bushings | Guide the working tool and control lateral movement inside the front head. | Tool diameter, breaker model, bushing dimensions and measured wear. Use the model-specific wear limit. |
| Retainer pins / tool pins | Hold the working tool in the breaker while allowing its designed movement. | Pin shape, diameter, length, tool notch geometry, breaker model and photos of both the pin and tool. |
| Chisel / working tool | Receives the piston strike and transfers energy into rock, concrete or other material. | Breaker model, tool diameter, total length, retaining area, tool shape and worksite application. |
| Housing, side plates and dampers | Protect the power cell, provide the carrier interface and, depending on body style, help control noise and vibration. | Body style, bracket and pin dimensions, mounting pattern, side-bolt pattern and complete-breaker photos. |
| Hoses, couplings and fittings | Connect pressure and return lines between the carrier and breaker. | Hose length and bore, fitting standard, thread, orientation, working-pressure requirement and connection photos. |
How the Major Assemblies Work Together
The excavator sends hydraulic oil to the breaker through its hoses and couplings. The breaker valve system directs that flow so the piston cycles inside the cylinder. The piston then strikes the working tool, while the front head, bushings and retainers guide and hold the tool. The housing and bracket connect the power cell to the carrier.
This is a functional overview, not a universal hydraulic circuit. Breakers differ in valve architecture, gas assistance, accumulator arrangement and service procedure. If you need the full operating cycle, use the hydraulic breaker working principle guide; if the breaker has weak or no impact, start with the repair and troubleshooting guide before ordering internal parts.
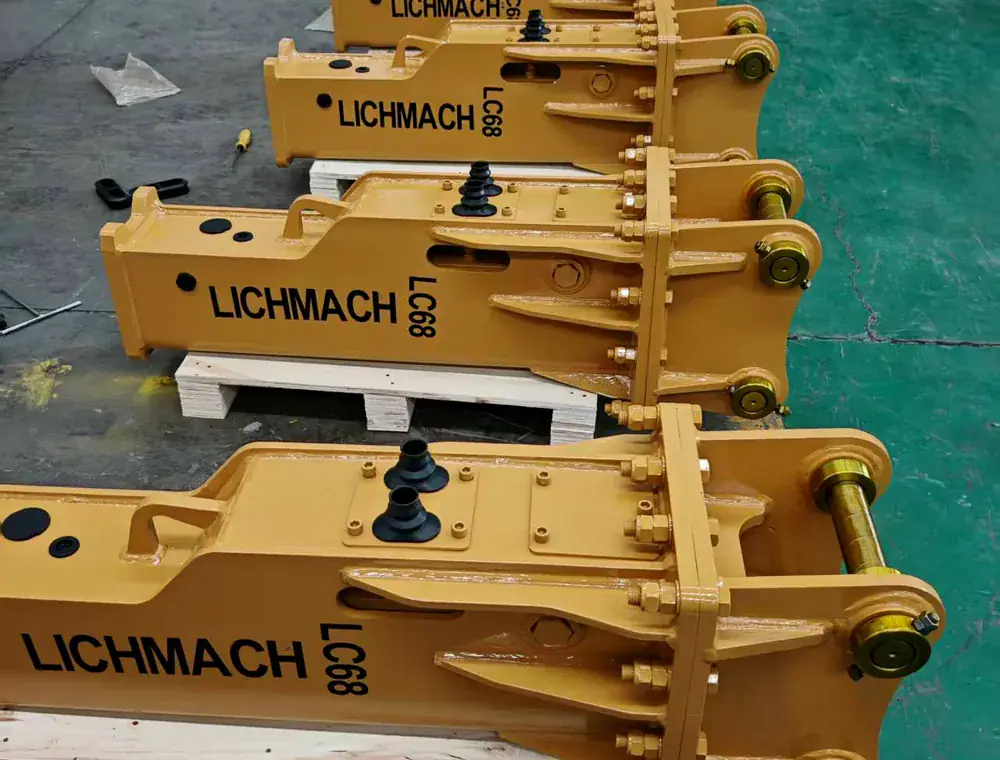
Why the Nameplate Comes Before the Part Number
A nameplate is the fastest route to the correct parts drawing when it is readable. It can identify the model and may provide hydraulic and tool-size information, but the serial number or production revision may be recorded elsewhere. Send the complete plate, not a crop containing only one value.
When no readable plate exists, build an identification pack: four-side breaker photos, a close-up of the power cell and ports, tool diameter, pin and bushing dimensions, removed-part photos, casting marks and any previous invoice or manual. Mark the inquiry as pending confirmation until the supplier has matched enough evidence.
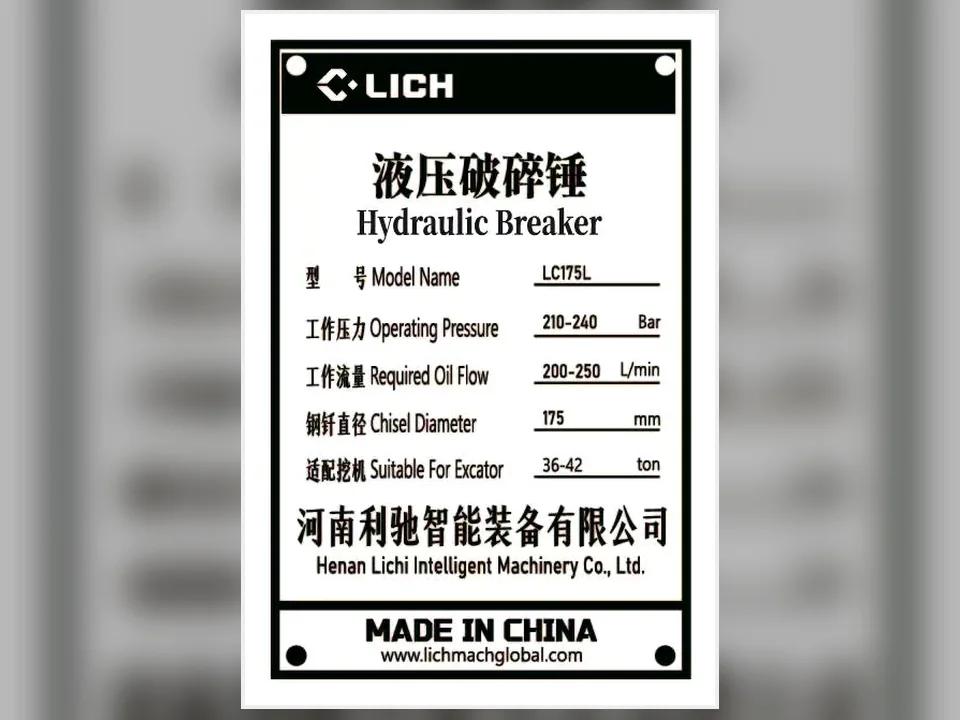
What to Send for a Correct Hydraulic Breaker Parts Quote
A good request lets the supplier trace the correct drawing before discussing availability or price. Send the information in one email, message or spreadsheet so photos and measurements do not become separated from the part line.
- Breaker identity: brand, full model, serial number and body type.
- Carrier information: excavator brand and model, especially when hoses, bracket parts or a replacement breaker are involved.
- Required item: part name, existing part number, requested quantity and whether the old part is available for measurement.
- Photos: complete breaker, nameplate, both sides of the removed part, damage area and any casting or laser markings.
- Measurements: use a ruler or caliper in the photo and state the unit. Record all critical diameters, lengths, threads and port details that the supplier requests.
- Failure information: leak location, abnormal sound, weak impact, tool movement, visible damage and any technician findings.
- Commercial data: destination country or port, quantity, packing requirement and required delivery date.
Copy-and-send parts inquiry:
Breaker brand/model: ___
Serial number: ___
Excavator model: ___
Required part and quantity: ___
Existing part number/marking: ___
Tool diameter: ___ mm
Main measurements: ___
Failure symptom or reason for replacement: ___
Photos attached: nameplate / complete breaker / removed part / measurements
Destination country or port: ___
LICHI’s hydraulic breaker parts support page is the commercial route for a model-matched review. For a first breaker shipment, use the separate guide to choose starter spare parts without over-ordering major internals.
Common Ordering Mistakes
Ordering from the excavator model only
The carrier may narrow the breaker size range, but it does not identify the breaker’s internal parts. Different breaker brands and power-cell revisions can be fitted to the same excavator class.
Using tool diameter as the only match
Tool diameter is important, especially for chisels and bushings, but two breakers with a similar tool diameter can use different lengths, retainers, grooves and front-head dimensions.
Calling every leak a seal-kit problem
First identify whether the fluid is hydraulic oil or grease and where it starts. A hose connection, external fitting, front-head seal area or damaged internal surface can lead to different parts and repair work. A seal kit cannot correct a scored component or an incorrect diagnosis.
Ordering a piston before finding the failure cause
A damaged piston is a major repair item. Ask a trained technician to inspect related cylinder, seal, bushing, tool and hydraulic conditions. Replacing one expensive part without correcting the cause can repeat the failure.
Using an online diagram as a repair instruction
A parts drawing helps identify and order components. It may not contain the safety sequence, inspection method, torque values, allowable clearances or gas-charging procedure. Always separate “parts identification” from “service instructions.”
Which Parts Belong in Stock?
Stocking should follow the installed base and service records, not a generic popularity list. A contractor with one breaker normally prioritizes routine wear and connection items. A dealer supporting multiple machines needs a model-by-model stock plan. Major components such as pistons, valves, cylinders and back heads should be stocked only when demand or a repair plan justifies them.
| Stocking level | Parts to discuss | Decision basis |
|---|---|---|
| Routine wear and field items | Working tools, selected bushings and retainers, hoses, fittings and model-matched seals. | Installed model, application, operating schedule, observed consumption and replenishment time. |
| Planned service items | Fasteners, dampers and repair-kit components specified by the maintenance plan. | Exact manual, service interval, inspection result and local technician capability. |
| Diagnosed major parts | Piston, control valve, cylinder, front head, back head or accumulator components. | Confirmed failure, complete measurements, serial-specific drawing and repair economics. |
Frequently Asked Questions
Is there one universal hydraulic breaker parts diagram?
No. A generic diagram can explain the functional groups, but final part numbers and quantities come from the exact model, serial range and manufacturer revision.
What are the main parts of a hydraulic breaker?
Common groups include the back head, valve system, cylinder, piston, seals, through-bolts, front head, bushings, tool retainers, working tool, housing, bracket, hoses and couplings. Accumulators and diaphragm arrangements are model-dependent.
Can I order a hydraulic breaker seal kit by chisel diameter?
Not safely. Chisel diameter can narrow the range, but a seal kit should be matched by breaker model, serial or cylinder version and verified kit contents.
What photos are most useful for identifying a breaker part?
Send the complete breaker, readable nameplate, removed part from multiple angles, markings, damage area and measurements with a visible scale. Keep all photos tied to the same inquiry line.
Does a parts diagram contain repair instructions?
Usually not. A diagram is mainly for identification and ordering. Use the exact operation or service manual for depressurization, disassembly, inspection, torque, clearance and charging procedures.
Can LICHI match parts for every third-party breaker brand?
Compatibility must be reviewed case by case and is not guaranteed from a brand name alone. Send the full identification pack first; the quotation should state what has been confirmed and what remains pending.
Request a Model-Matched Parts Review
Send the breaker model, serial number, tool diameter, required parts, quantities, photos, measurements and destination. LICHI can review the evidence and prepare a parts list for quotation. Final compatibility, materials, kit contents, availability, price, packing and lead time remain subject to written confirmation.
Request a hydraulic breaker parts review or browse the hydraulic breaker guide hub for matching, operation and troubleshooting topics.
Keep Comparing
Compare more breaker models and buyer guides related to this topic.


