
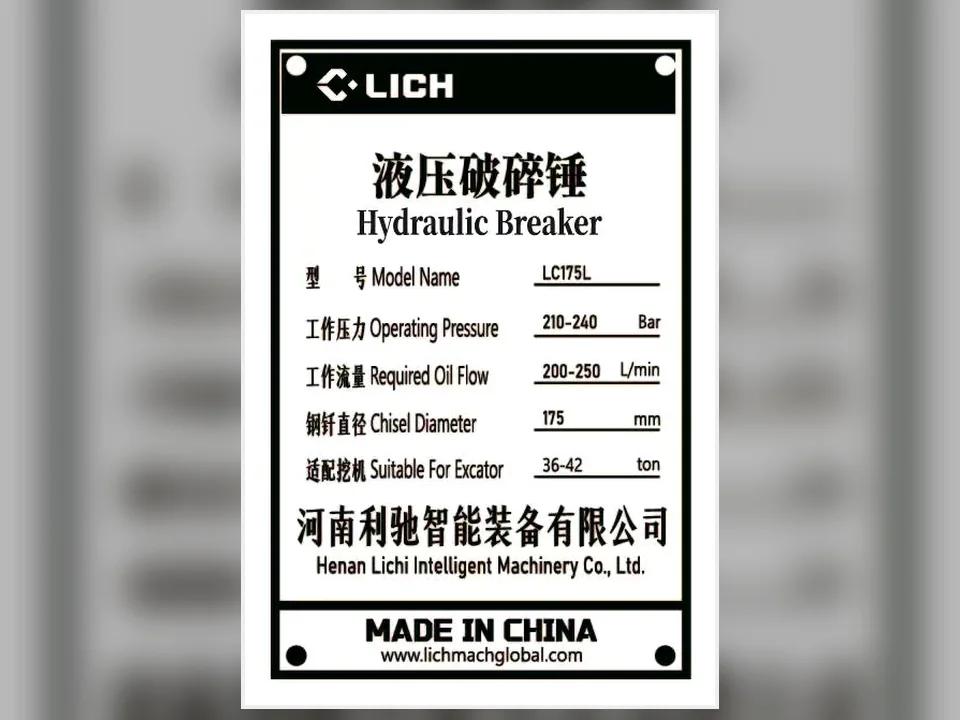
Hydraulic Breaker Repair and Troubleshooting
Use a symptom-and-evidence workflow for no impact, weak or irregular impact, leakage and abnormal operation before requesting hydraulic breaker repair or parts.
Use this page to document no impact, weak or irregular impact, leakage and abnormal operation before requesting trained hydraulic breaker repair or parts support.
The symptom is the starting point
No impact, weak impact, irregular impact, oil leakage, gas leakage and abnormal noise are different diagnostic paths. Record what changed and when.
Carrier and breaker must be reviewed together
Oil flow, pressure, relief behavior, hoses, return condition, mounting, tool contact and operating method can affect breaker behavior.
Internal parts require diagnosis
Do not select pistons, valves, cylinders, seals or accumulators from a symptom alone. Exact model data and trained inspection are required.
High-pressure work has a hard boundary
Hydraulic and nitrogen systems can retain dangerous pressure. Depressurization, isolation and trained service procedures come before disassembly.
Start From the Observed Symptom
This page organizes evidence; it does not authorize unsafe field disassembly.
Breaker does not impact
Record whether the carrier circuit activates, whether hoses move or heat, whether the tool is supported and whether the issue appeared suddenly or after service.
Impact is weak or slow
Record carrier engine mode, oil temperature, flow and pressure evidence, filter or hose changes, nitrogen history, tool contact and the material being broken.
Impact is irregular
Record when the rhythm changes, working angle, tool support, temperature, leakage, abnormal noise and whether the issue follows a particular carrier or setup.
Oil, gas or abnormal noise
Stop and identify the source area without placing hands near a pressurized leak. Photograph the breaker, hoses, fittings, tool and visible damage from a safe position.
Safe Diagnosis Before Hydraulic Breaker Repair
Move from low-risk evidence collection to trained diagnosis.
Stop and secure
Park safely, lower the attachment, isolate energy and follow the carrier and breaker shutdown instructions before inspection.
Record identity and history
Collect carrier model, breaker model and serial, working hours, recent service, parts changes and the exact time the symptom began.
Collect operating evidence
Provide photos or video, oil-flow and pressure evidence when measured correctly, oil temperature, working angle, tool condition and material.
Separate external from internal checks
Visible hoses, fittings, fasteners, tool, bushings and mounting are different from sealed hydraulic, gas and internal power-cell work.
Confirm the repair route
Use trained diagnosis to identify adjustment, carrier-side correction, external parts, seal work or internal parts before ordering.
Hydraulic Breaker Repair: Evidence for a Support Review
A complete record helps distinguish setup, operation, wear and component issues.
Conditions That Require a Stop
Do not continue operation or improvise a repair when the risk is unclear.
Pressurized leakage
High-pressure fluid can penetrate skin and cause serious injury. Keep clear, isolate the system and use trained service procedures.
Gas-system uncertainty
Do not open, heat or improvise around a nitrogen chamber or accumulator. Confirm depressurization and the correct service equipment.
Loose structure or damaged tool
Stop for loose bolts, abnormal gaps, cracked housing, damaged retaining parts, severe tool damage or uncontrolled movement.
Internal disassembly required
Piston, valve, cylinder, accumulator and seal work require the exact manual, cleanliness controls, measurement tools and trained personnel.
Frequently Asked Questions
Plain answers before the first quote.
Possible paths include carrier-circuit activation, flow or pressure, return condition, tool support, control or internal issues. A symptom alone is not enough to identify a part; collect the carrier, breaker and operating record.
Weak impact can relate to hydraulic supply, temperature, leakage, gas condition, tool contact, wear, setup or internal condition. Use trained measurement and the exact manual rather than changing pressure blindly.
Stop and identify the source safely. High-pressure fluid can cause severe injury, and continued operation can worsen damage or lose lubrication.
Not from that symptom alone. Confirm the exact model and diagnose whether the problem involves seals, carrier hydraulics, gas, control, tool support or another component.
No. It is an evidence and routing guide. Internal disassembly, pressure work, tolerances, torque and adjustment require the corresponding manual and trained service personnel.
From a safe position, show the complete carrier and breaker, tool contact, the symptom, hoses and fittings, visible leaks or movement, and the work material. Add model and operating notes in writing.
Continue Through the Hydraulic Breaker Guides
Use the next topic that matches your selection, operation, parts or support question.
Hydraulic breaker guide hub
Return to the complete selection, application, maintenance and support path.
View detailsNitrogen pressure guide
Review the model and temperature boundary before gas-pressure checks or charging.
View detailsChisels and breaker bits
Prepare tool measurements and abnormal-wear evidence before replacement.
View detailsHow a breaker works
Understand the carrier circuit, valve, piston and tool before interpreting a symptom.
View detailsReady to check the right breaker?
Send carrier model, hydraulic data, quantity and destination port. LICHI can reply with a checked model path.
