
Hydraulic Breaker Grease Guide: Selection and Routine
Choose and manage hydraulic breaker grease with model-specific records, correct tool position, delivery checks and observable maintenance evidence.
All buyer guides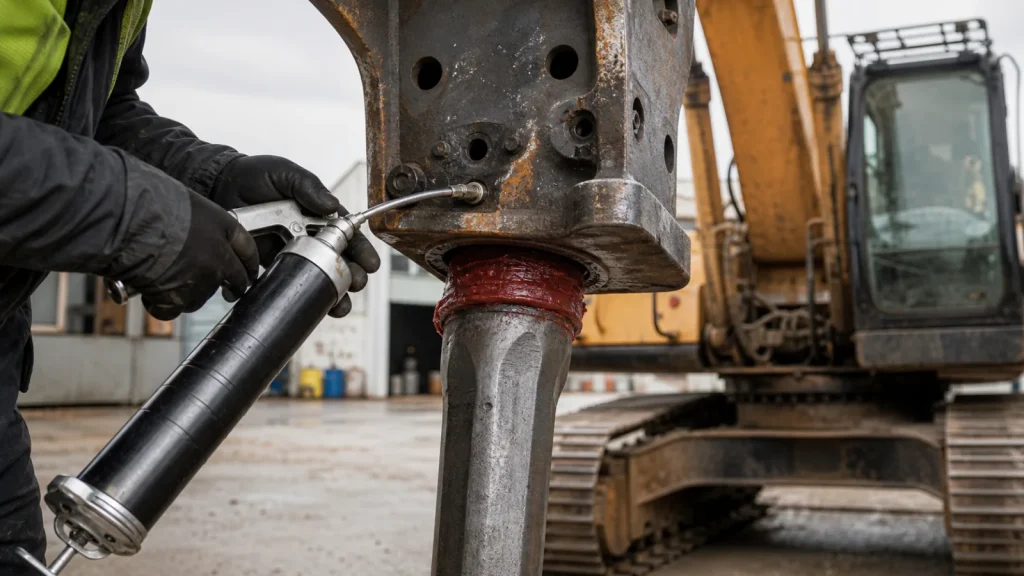
Hydraulic breaker grease protects the contact area between the working tool and its bushings under repeated impact, sliding movement, dust and high local temperature. The correct product is normally a manufacturer-approved chisel paste or breaker grease, not whichever general-purpose grease is already on the service truck.
The difficult question is not simply “how many pumps?” Breaker design, grease system, tool position, application, temperature and duty cycle all affect the lubrication plan. This guide shows how to choose and document a model-specific routine without inventing one universal interval.
Safety boundary: Follow the breaker and carrier manuals before approaching, positioning or lubricating the attachment. The working tool and breaker can remain hot after use. Secure the machine, keep clear of crush zones and never place hands between the tool, bushing or material. The exact grease point, breaker position, interval and quantity come from the model manual.
Why Hydraulic Breaker Grease Is Different
The tool shank slides and rotates inside the guide bushings while impact loads travel through the same area. Ordinary chassis grease may soften or run away when the interface becomes hot. Official Epiroc guidance describes chisel paste as a product made for the temperature and contact conditions between the working tool, bushings and retainer bars. NPK operator information likewise specifies high-temperature extreme-pressure grease with protective additives for its own models.
Those sources show the type of evidence to look for; they do not create one cross-brand formula. Always use the grade and product category approved for the exact breaker. Mixing incompatible greases or relying on color alone is not a controlled maintenance practice.
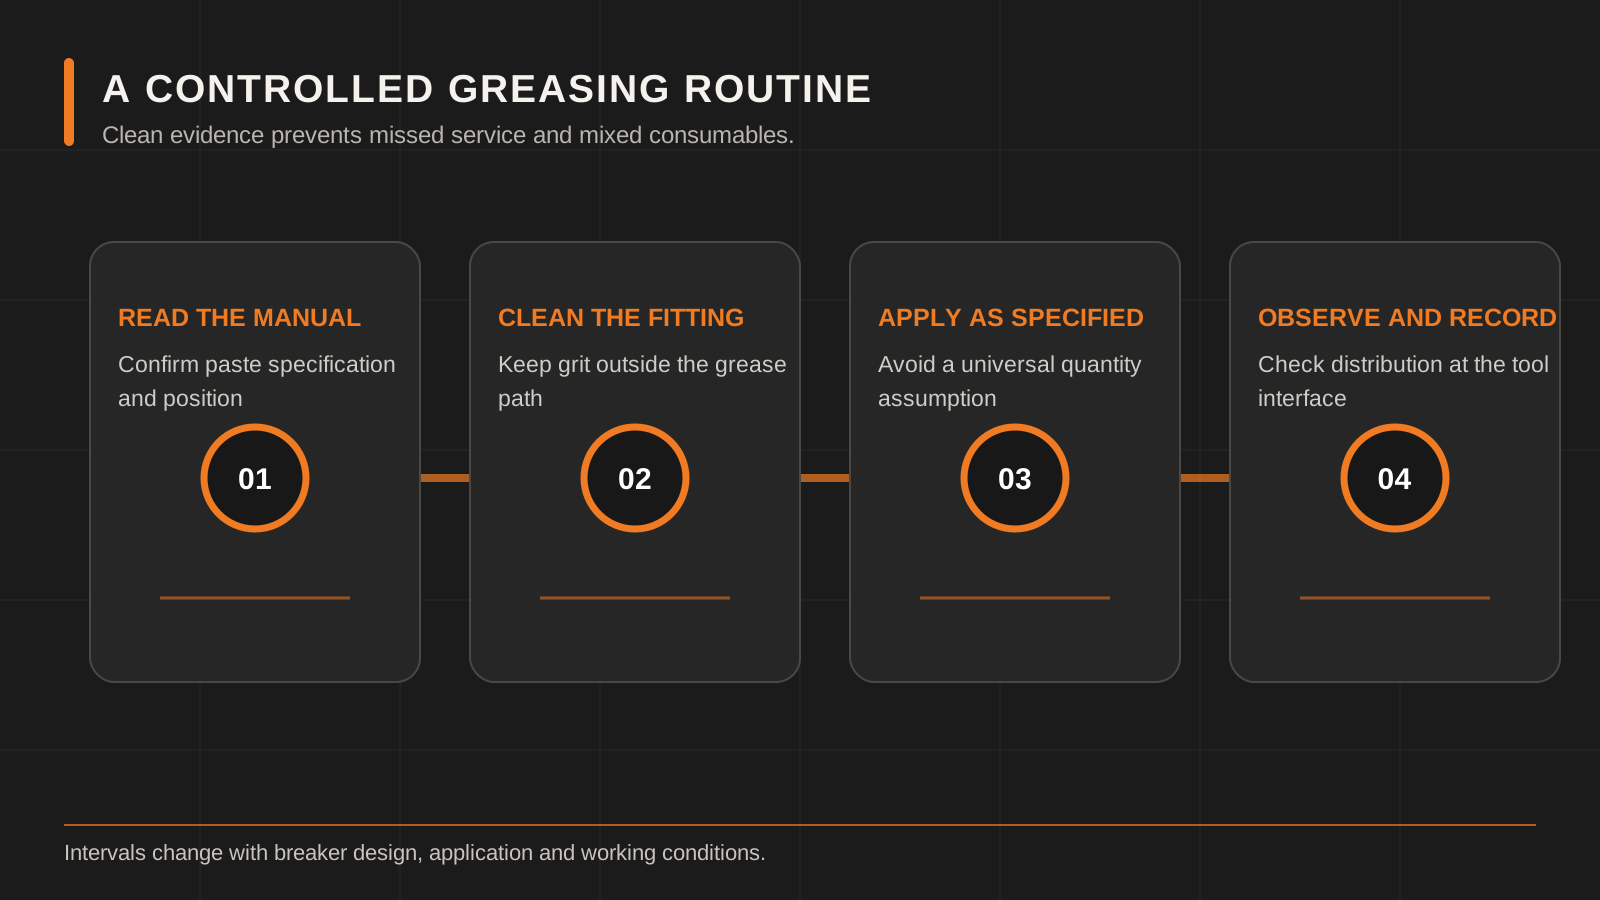
- 1
Confirm approved greaseExact breaker manual, ambient conditions and manual or automatic system
- 2
Prepare the breaker correctlySafe machine position and tool position as stated by the manufacturer
- 3
Apply the documented amountUse the correct grease point and clean connection
- 4
Observe the tool areaRecord dry appearance, excess discharge, contamination and unusual heat
- 5
Review the intervalUse job evidence and the manual; do not extend intervals by guesswork
How Often Should a Hydraulic Breaker Be Greased?
There is no safe universal answer. Published manufacturer guidance varies. Caterpillar discusses two-hour routines for some hammer applications and more frequent attention in severe work. NPK manuals describe determining an interval from the actual job and also give model-specific fallback practices. Epiroc manuals may state their own intervals and grease-gun strokes. The correct figure is the one in the current manual for the exact breaker and lubrication system.
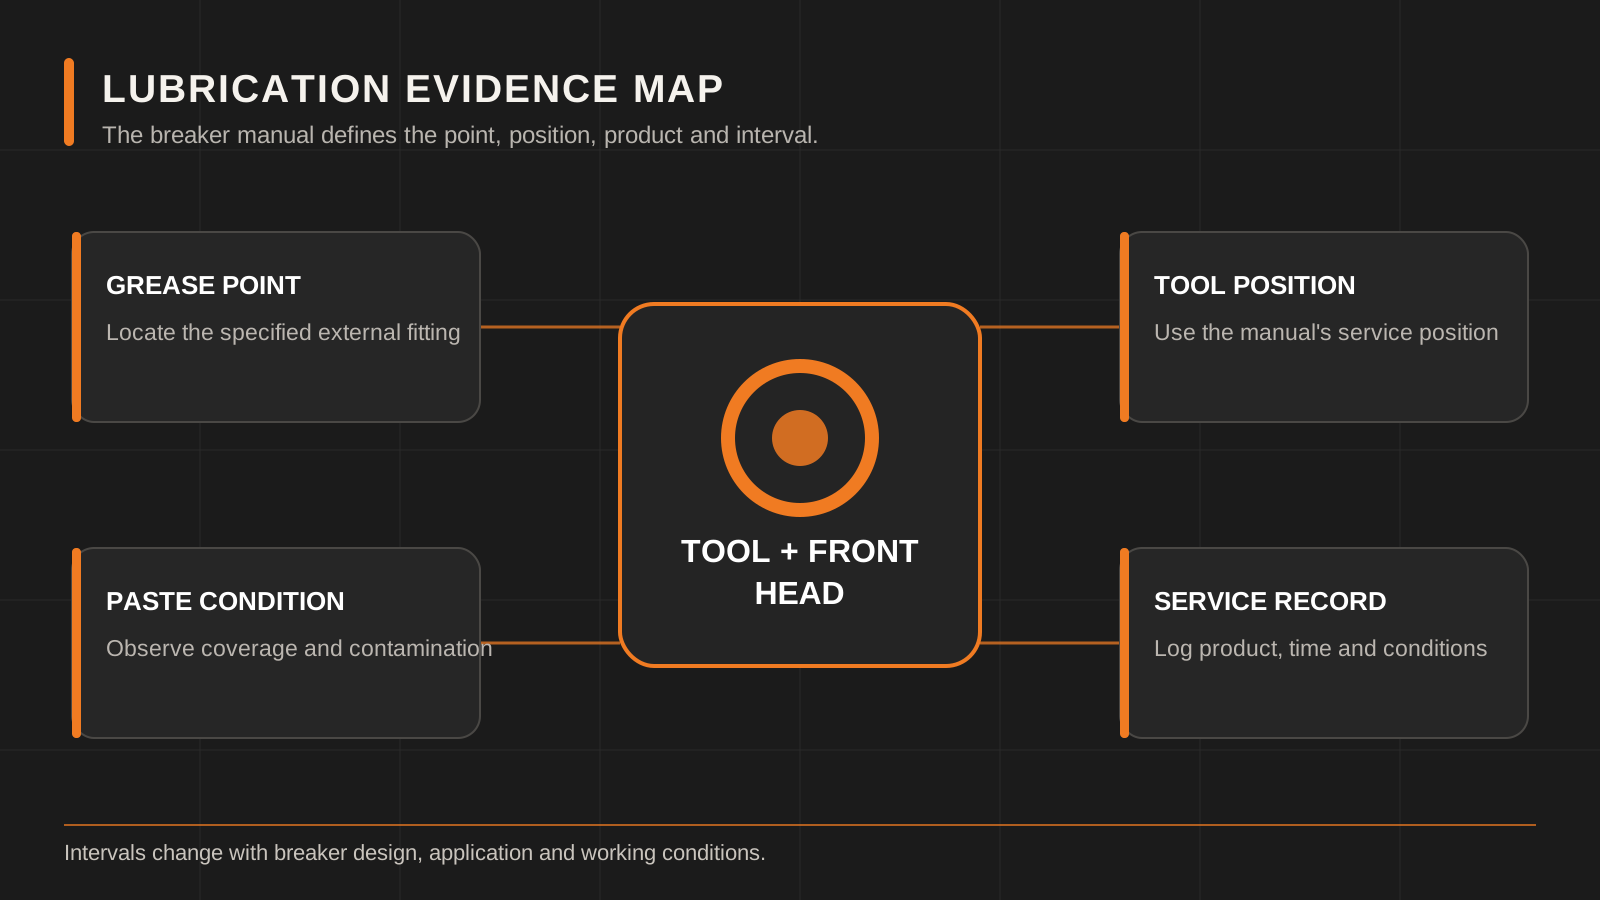
A site record should therefore include operating hours, material, temperature, dust, tool condition, whether autolube is fitted, when grease was applied and what was observed. If the tool area becomes dry before the approved interval, stop and escalate rather than simply adding an unrecorded amount indefinitely. A blocked line, empty cartridge or damaged system can look like “high grease consumption.”
| Factor | What to record | Why it changes the decision |
|---|---|---|
| Manual or autolube | System type, cartridge/reservoir status and grease-delivery evidence. | An automatic system still needs inspection; a full reservoir does not prove grease reaches the tool. |
| Material and dust | Rock, concrete, trenching, overhead work, dust and water exposure. | Contamination and tool movement can change lubrication demand and inspection frequency. |
| Ambient and breaker temperature | Cold start, normal condition, unusual heat and any shutdown event. | Grease behavior and hydraulic-system condition vary with temperature. |
| Tool and bushing condition | Visible dryness, paste distribution, side movement and measured wear from the correct procedure. | Worn components cannot be corrected by adding more grease. |
| Duty pattern | Short intermittent work, long shifts, frequent repositioning or continuous severe work. | Clock time alone does not describe actual hammer operation. |
Correct Greasing Position Matters
Manufacturer manuals commonly require the working tool to be pressed into a defined position before grease is injected. The reason is functional: grease must reach the tool-and-bushing contact area rather than being forced toward the piston impact zone. The exact machine position and method must be read from the breaker manual.
Before connecting a grease gun, clean the nipple and coupler so dirt is not pushed into the lubrication path. Inspect the hose, cartridge or line on automatic systems. If pressure rises abnormally at the grease gun, do not force more product into a suspected blockage.
Manual Greasing Versus Automatic Lubrication
Manual grease gun
Manual lubrication is simple to audit when the operator records time, amount and condition. Its weakness is inconsistency between shifts. A checklist should identify who greased the breaker, the approved product used and the next inspection point.
Breaker-mounted autolube
A mounted pump can supply grease while the breaker operates, but a cartridge can be empty, a line blocked or a pumping element faulty. Check the reservoir and delivery evidence at the interval required by the system manufacturer.
Carrier central lubrication
A carrier system may feed the breaker through a dedicated line. Confirm the line, metering and approved grease are suitable for that breaker. Do not assume the carrier’s normal bearing grease is automatically suitable for the working tool.
Signs the Lubrication Process Needs Attention
- The exposed tool shank repeatedly appears dry earlier than expected.
- Grease does not appear at the intended tool-and-bushing area after the approved method.
- Grease exits from an unexpected relief point or damaged line.
- The tool shows unusual scoring, discoloration, mushrooming or restricted movement.
- Bushing clearance or side movement is outside the model-specific inspection result.
- The autolube reservoir level does not change, or falls without visible delivery.
- Grease is mixed with dirt, water or leaking hydraulic oil.
These signs do not prove a single failed component. Stop the task, document the condition and let trained personnel inspect the tool, bushings, retainer area and lubrication system. The bushing wear guide explains the evidence required for that separate decision.
Breaker Grease Selection Checklist
- Read the exact breaker manual and identify the approved grease or chisel-paste specification.
- Confirm the product remains appropriate for the site temperature and application.
- Check cartridge, bucket or tube compatibility with the manual or autolube equipment.
- Keep the product label and batch traceable; do not refill an unmarked container.
- Avoid contamination when changing cartridges or coupling the grease gun.
- Do not mix products unless their manufacturers explicitly permit it.
- Record consumption by breaker and operating hours so unusual change becomes visible.
Store and Handle Breaker Grease as a Controlled Consumable
A correct product can still perform poorly if its container is contaminated or mislabeled. Keep cartridges, pails and pump reservoirs closed, dry and protected from the storage conditions identified by the manufacturer. Mark the product identity, batch if available, opened date and the machines approved to use it. Do not refill an unclean container or combine leftovers simply because both products are dark in color.
Use dedicated, clean transfer equipment. Wipe the coupler and grease fitting before connection so the grease gun does not push abrasive material into the lubrication path. When changing product, confirm compatibility and any purge procedure with the breaker and lubricant suppliers; mixing thickeners or additives without approval can change consistency and delivery. Quarantine cartridges with damaged seals, missing labels or uncertain storage history.
Turn Lubrication Observations Into Maintenance Decisions
For automatic systems, inspect the reservoir, lines, metering device and delivery point rather than recording only that the reservoir contains grease. A falling level does not prove the correct quantity reaches the tool interface: a damaged line or blocked point can consume or divert product. Record refill quantity, operating hours and visible delivery evidence so unusual consumption becomes detectable.
A sudden increase in consumption may indicate leakage, a loose line or a setting change; a sudden decrease can indicate blockage, an empty cartridge, cold-delivery difficulty or pump failure. A new escape path can point to changed tool/bushing condition. Record the temperature state, material, operator and tool/bushing observations. These patterns justify inspection but do not diagnose a failed part.
Common Lubrication Mistakes
Using general chassis grease
A general product may not retain its protective behavior at the working tool’s temperature and impact condition. Use the breaker manufacturer’s approved product category.
Greasing with the tool in the wrong position
Incorrect positioning can send grease toward an unintended area. Follow the illustrated manual procedure for the exact model.
Adding more grease to compensate for wear
Grease cannot restore a worn bushing or damaged tool. Measure and compare with the model’s wear limits through the approved inspection procedure.
Assuming autolube is maintenance-free
Reservoir level, lines, metering and delivery still need inspection. A cartridge change should be recorded like any other maintenance action.
Copying another fleet’s interval
Different breakers, materials and ambient conditions can need different routines. Borrow the record format, not the number.
Daily Lubrication Record Template
Breaker lubrication record
Date / shift / operator: ___
Breaker model and serial: ___
Carrier model: ___
Work material and conditions: ___
Operating hours since last service: ___
Grease product and batch: ___
Manual or autolube: ___
Amount applied / cartridge level: ___
Tool position used from manual section: ___
Visible condition before and after: ___
Leak, blockage, unusual heat or wear: ___
Action taken / technician notified: ___
Frequently Asked Questions
What grease should I use in a hydraulic breaker?
Use the chisel paste or breaker-grease specification approved by the exact manufacturer and model. Do not select by color or assume general-purpose grease is equivalent.
How many pumps of grease does a breaker need?
The number varies by breaker, grease system and manufacturer procedure. Use the model manual and record the application; do not copy a universal pump count from another machine.
Can I over-grease a hydraulic breaker?
Incorrect quantity or position can cause problems, and forcing grease into a blocked system is unsafe. Follow the exact procedure and investigate abnormal delivery.
Does an automatic system remove the need for inspections?
No. Check the reservoir or cartridge, lines, delivery and visible tool condition at the specified intervals.
Is dry-looking metal proof that the breaker is damaged?
It is a reason to stop and inspect the lubrication process, not a complete diagnosis. Tool, bushing and grease-system condition must be checked together.
Manufacturer Reference Used for This Guide
Epiroc’s official hydraulic breaker consumables guide explains why chisel paste is designed for the high-temperature tool/bushing interface. Always use the product and procedure approved for the exact breaker rather than treating that document as universal LICHI fitment.
Get a Model-Specific Maintenance Review
Send the breaker model, serial, application, current grease product, lubrication system photos and observed condition through LICHI contact. For tool selection, see the chisel guide; for a broader maintenance or fault path, use the troubleshooting guide.
LICHI can review the available evidence, but the exact grease specification, interval, amount and service method remain controlled by the confirmed breaker manual and written support response.
Keep Comparing
Compare more breaker models and buyer guides related to this topic.


